By the end of this guide you will have a Godot 4 project where you paint terrain with the mouse and every edge, corner, and inner corner resolves itself. Like this:
Total time is about ten minutes, and most of that is Godot's import progress bar.
We'll use a tileset generated with Tilewise, because its Godot export arrives with the terrain configuration already written into the file. If you have your own tileset, everything from step 3 onward still applies; you'll just meet the TileSet editor's peering-bit workflow first (there's a section on that near the end).
Autotiles, terrains, terrain sets: the naming mess
If you learned Godot 3, you knew this feature as autotiles. Godot 4 rebuilt the system and renamed it: what you configure now is a terrain set containing one or more terrains, and each tile carries terrain peering bits that describe which of its sides and corners belong to that terrain. Same idea, new machinery, and much better behavior at tricky corners.
The result is the same painting experience: you drag across the map, and Godot picks the right tile for every cell based on its neighbors.
Why 47 tiles?
A minimal autotile set has 16 tiles: it only checks the four direct neighbors. It works until two diagonal patches of terrain meet, and then the corners go visibly wrong. The full treatment is the 47-tile blob tileset: edges, outer corners, inner corners, and every combination of them. Godot's terrain system is built to use all 47; give it the full set and every boundary looks intentional.
We covered generating these in depth in our blob tileset guide, so here's the short version.
Step 1: Generate the tileset
In Tilewise, create a tileset project, describe a material, pick a tile size, and generate. Go with 256 px tiles unless your game calls for smaller: it's the largest size and gives the crispest detail. One generation costs 3 credits and takes under a minute, so trying a few directions is cheap. For this guide we generated three candidates from the same "grassy field" idea and picked one:
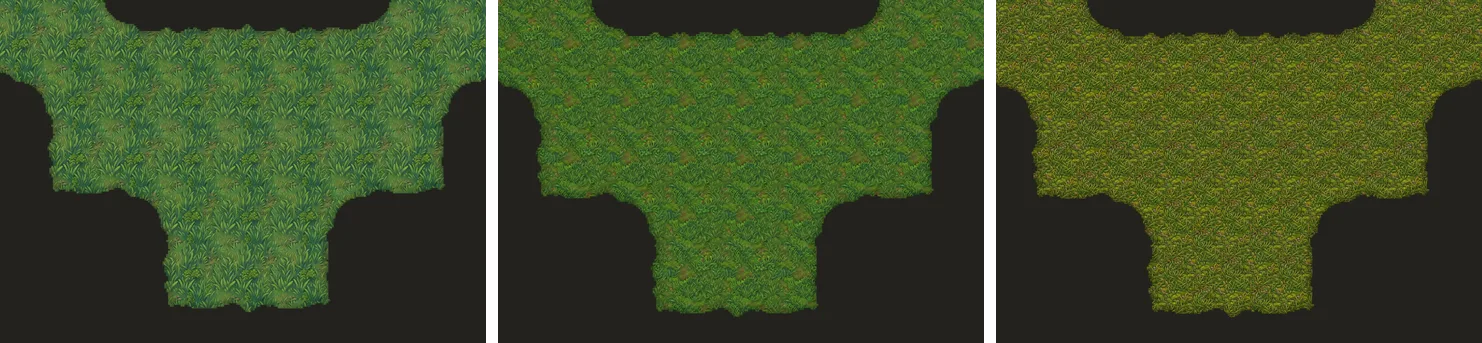
(Since this guide was written, Tilewise also added a Natural edge style where the tile borders are painted art: overhanging grass tufts and chipped stone instead of a uniform cut. Everything in this tutorial works identically with either style; see the hand-painted tileset edges guide if that look fits your game.)
Same map, same prompt family, three different moods: lush blades with leafy clumps, deep muted green, fine olive grain. This is the honest part of working with AI generation: the first result is rarely the one you ship, and that's fine when iterations cost pennies and seconds. We went with the one on the left.
When you're happy, head to the export phase and pick Godot. You get a ZIP with exactly two files:
<name>.png, the 47-tile atlas<name>.tres, a native Godot TileSet resource that references the PNG, with terrain peering bits configured for all 47 tiles
Step 2: Drop both files into your project
Copy both files into your Godot project folder, at the project root. This matters: the .tres references the atlas as res://<name>.png, so if you nest it in a subfolder Godot will report a missing dependency. (If you want it in a folder, move both files in the editor's FileSystem dock, and Godot rewrites the path for you.)
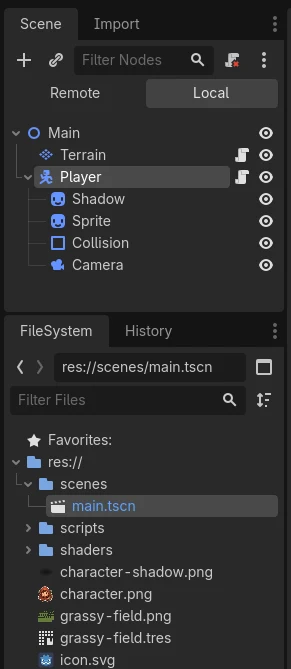
Godot imports the PNG automatically. That's the whole import procedure.
Step 3: Wire it to a TileMapLayer
Add a TileMapLayer node to your scene. (Godot 4.3 deprecated the old TileMap node in favor of one node per layer; on 4.6 TileMapLayer is simply what you use.) In the inspector, set its Tile Set property by dragging <name>.tres from the FileSystem dock, or use the property's resource picker.
Select the node and open the TileSet panel at the bottom of the editor. You'll see the full atlas, already sliced into tiles:
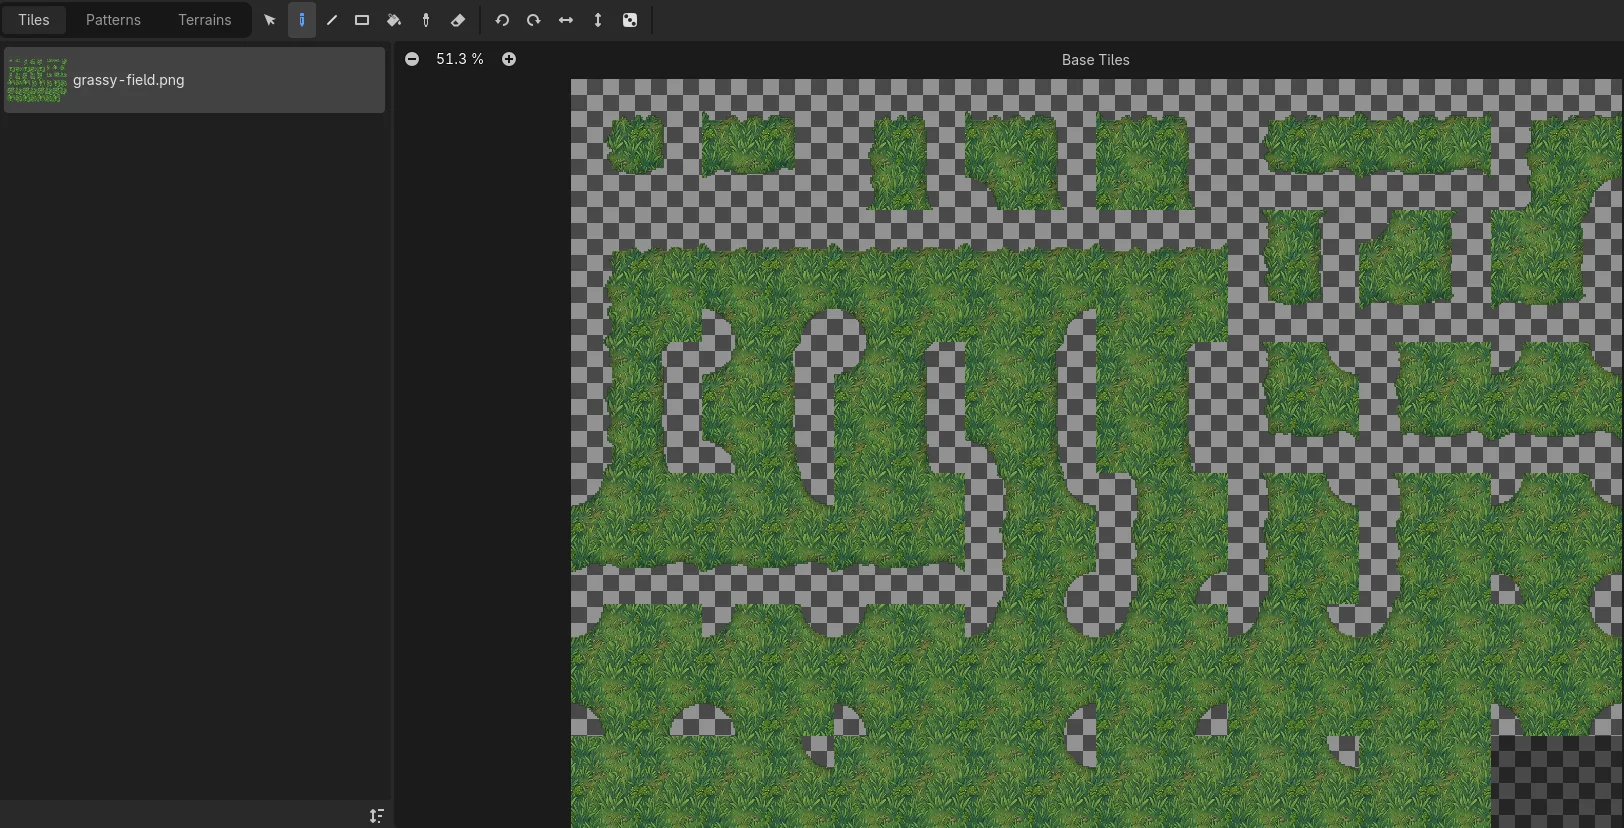
If you click a tile and expand its terrain section, you'll find the peering bits already set. That's the hour of clicking the export just saved you: 47 tiles, each with up to eight peering bits, all configured.
Step 4: Open the Terrains tab and paint
Switch to the TileMap panel (bottom of the editor, next to TileSet) and select the Terrains tab. Pick the terrain, choose the Connect drawing mode, and paint on the canvas.

Drag across the map and watch the edges resolve as you go:
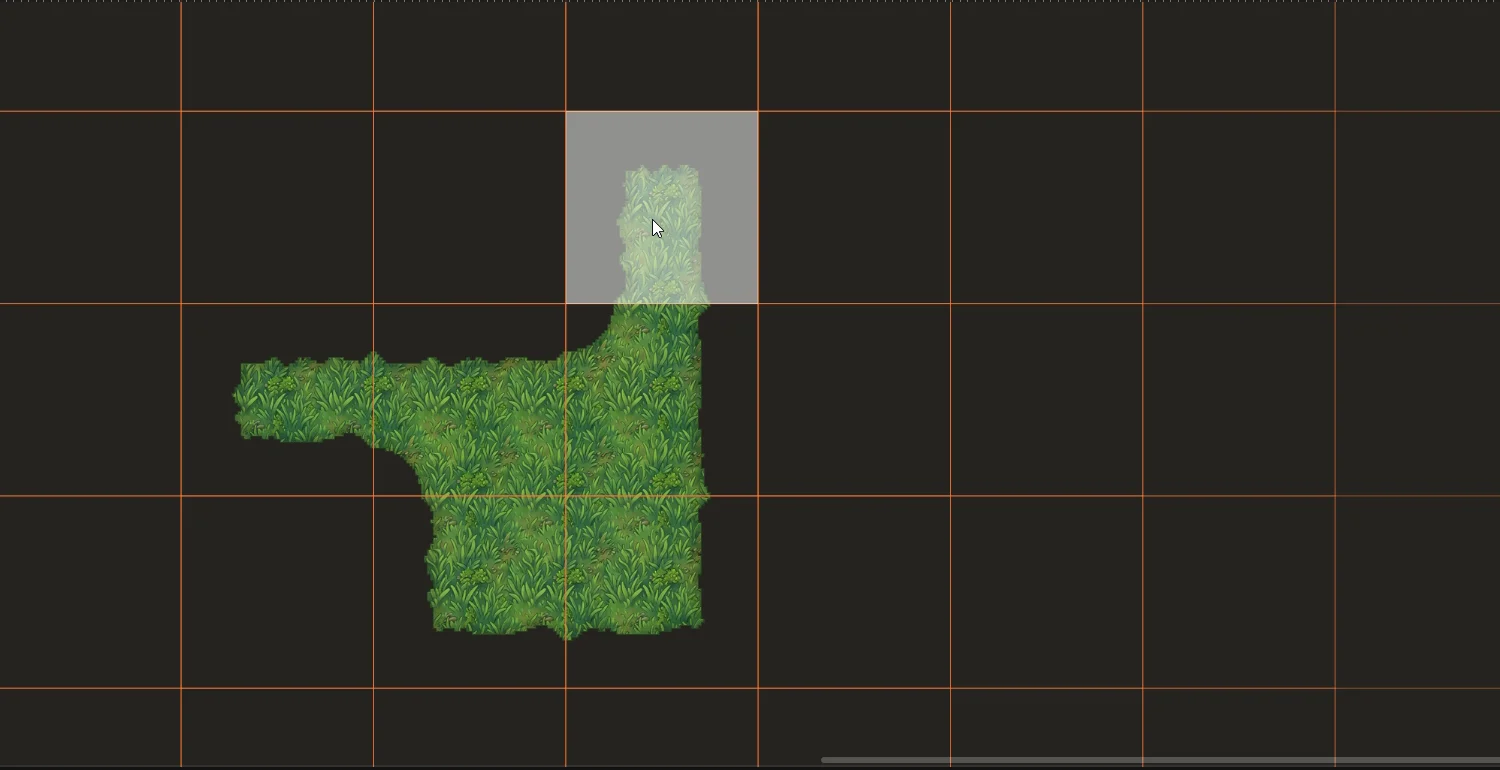
Two drawing modes matter here. Connect treats your stroke and its neighbors as one blob and picks tiles so everything joins up; it's what you want almost always. Path keeps the stroke as a corridor without merging into neighboring terrain, useful for roads and rivers.
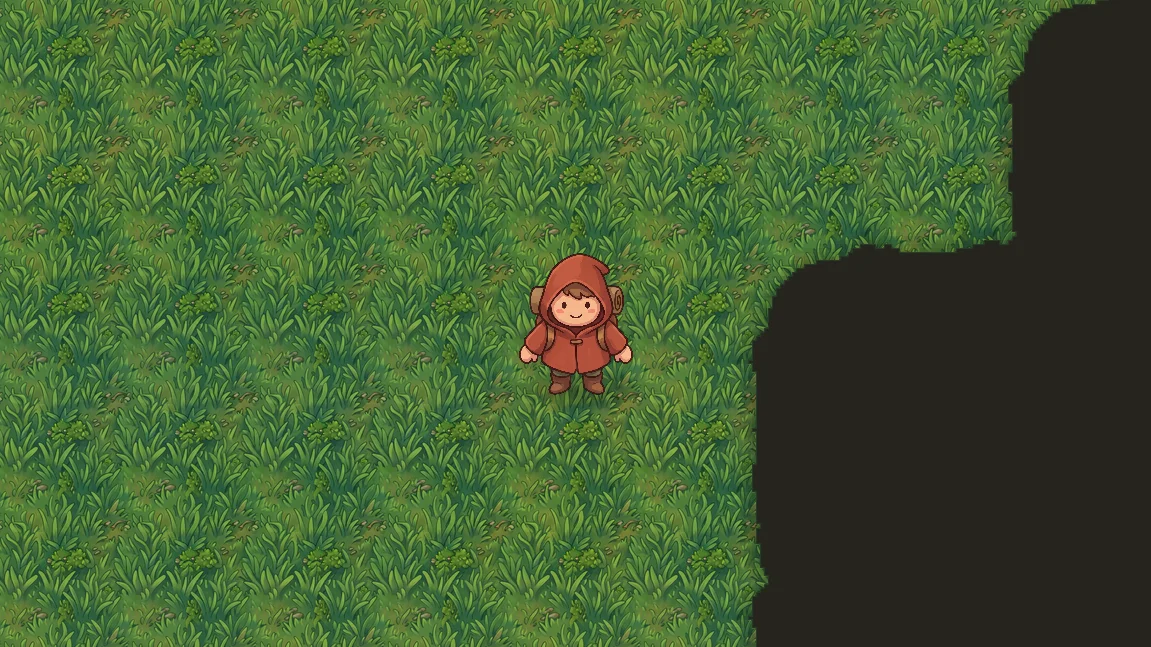
Run the scene and you have shaped, painted terrain:
Bonus: painting terrain from code
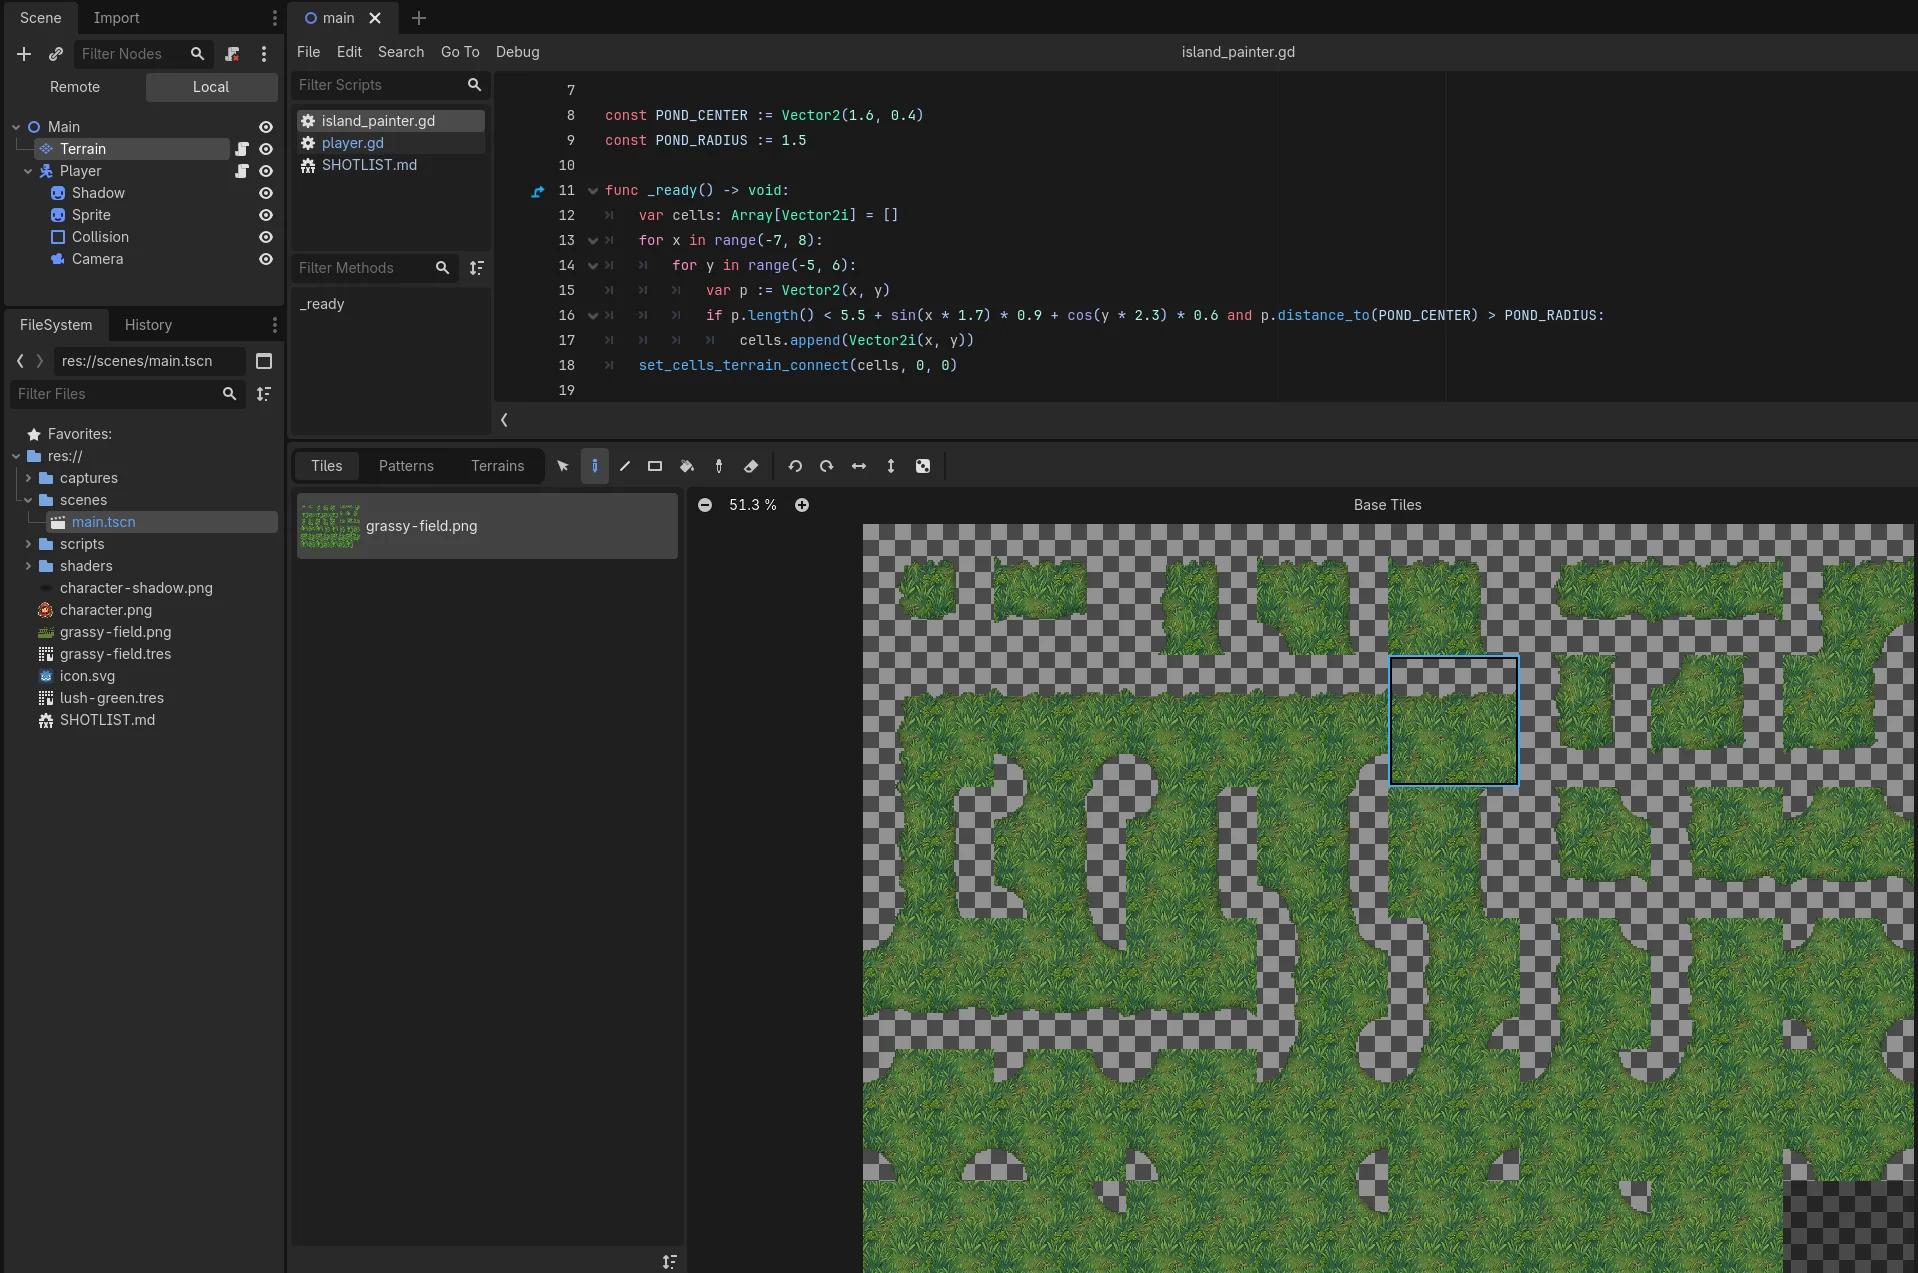
Everything the Terrains tab does is available from GDScript through set_cells_terrain_connect(). This script paints a rough island at runtime and carves a pond out of the middle, which is handy for procedural maps and for testing a tileset quickly:
extends TileMapLayer

const POND_CENTER := Vector2(1.6, 0.4)
const POND_RADIUS := 1.5

func _ready() -> void:
    var cells: Array[Vector2i] = []
    for x in range(-7, 8):
        for y in range(-5, 6):
            var p := Vector2(x, y)
            if p.length() < 5.5 + sin(x * 1.7) * 0.9 + cos(y * 2.3) * 0.6 and p.distance_to(POND_CENTER) > POND_RADIUS:
                cells.append(Vector2i(x, y))
    set_cells_terrain_connect(cells, 0, 0)
The three arguments at the end are the cells, the terrain set index, and the terrain index; with a single-terrain tileset both indexes are 0. Godot resolves every edge and corner exactly as if you had painted by hand. The carved pond is the interesting part: holes are where inner-corner tiles appear, the transition a 16-tile set can't handle cleanly.
Breaking up repetition
Any tileset, hand-drawn or generated, shows its pattern when one interior tile repeats across a large field. Two cheap fixes work well together: scatter decoration props on a second layer (rocks, mushrooms, bushes), and tint the terrain with a world-space noise shader so identical tiles read differently depending on where they sit. Here's the shader:
shader_type canvas_item;

uniform sampler2D noise_tex : repeat_enable, filter_linear;
uniform float strength : hint_range(0.0, 0.5) = 0.18;
uniform float noise_scale = 0.0005;

varying vec2 world_pos;

void vertex() {
    world_pos = (MODEL_MATRIX * vec4(VERTEX, 0.0, 1.0)).xy;
}

void fragment() {
    vec4 tex = texture(TEXTURE, UV);
    float n = texture(noise_tex, world_pos * noise_scale).r;
    vec3 warm = vec3(1.0 + 0.6 * strength, 1.0 + 0.3 * strength, 1.0 - 0.5 * strength);
    vec3 cool = vec3(1.0 - 0.5 * strength, 1.0, 1.0 + 0.2 * strength);
    COLOR = vec4(tex.rgb * mix(cool, warm, n), tex.a);
}
Apply it on the TileMapLayer: add a ShaderMaterial in the node's Material slot, paste the shader, then set noise_tex to a NoiseTexture2D (enable Seamless, give it a FastNoiseLite noise). Large soft patches of slightly warmer and cooler grass appear across the map, and the tiling pattern stops jumping out. Tune strength to taste; the screenshots in this guide use 0.18.
If you're wiring peering bits by hand
Maybe you already have a tileset you love. The manual path: select your TileMapLayer's TileSet, create a terrain set (mode: match corners and sides), add a terrain, then visit every tile in the TileSet panel's paint mode and click in its peering-bit diagram which sides and corners belong to the terrain. For a 47-tile blob set that's a few hundred clicks, and a single wrong bit shows up later as one tile that never gets picked or appears in the wrong spot. Budget an hour, zoom in, and double-check the inner corners; they're the usual culprits.
Common pitfalls
- Missing dependency on import. The
.tresreferences the atlas by path. Keep both files together and move them only inside the editor, so Godot rewrites the reference. - Painting single tiles instead of terrain. If you place tiles from the Tiles tab and later paint terrain over them, Connect mode treats the hand-placed cells as obstacles rather than terrain. Pick one workflow per layer.
- Blurry pixel art. Godot's default texture filtering is linear. For small tile sizes (16 to 32 px), set the TileMapLayer's Texture Filter to Nearest or the tiles will look smeared.
- Still on the old TileMap node. Terrain painting works there too, but it's deprecated since 4.3; new scenes should use TileMapLayer, one node per layer.
Wrap-up
The terrain system is one of the best parts of Godot 4's 2D toolkit, and the setup cost is the only thing standing between you and painting maps. Generating the tileset with the terrain configuration included removes that cost entirely: describe a material, export two files, drop them in, paint.
Generate a Godot-ready tileset with 5 free credits, no credit card required. Your first tileset generation is covered.